Angular Standalone Component — Simplify your code.

Intro
Hey Hey folks, how are you? In this article I want to talk about a new angular feature called standalone components.
Standalone components were a new feature added to the Angular framework in v14 as a developer preview. In v15+ versions it became stable, so now we can use it in production to simplify our code.
So, what standalone component means?
It means that a component can, well… stand alone :D — ba dum tss.
Jokes aside, with the new standalone API, now it is possible to create components, directives and pipes without creating or updating an associated NgModule. That is amazing! By using standalone components you don’t even need to know what a NgModule is, which breaks a barrier for new starters with this framework.
In summary:
a standalone component is self contained and it directly manage their template dependencies, so they’re easier to understand, test and maintain.
So, what are some of the benefits of using this approach?
- You write less code and have fewer files to manage, since you don’t need an NgModule anymore. Moreover, it enhances efficiency and reduces the bundle size.
- Lower learning curve to new developers, since it becomes easier to create components, directives and pipes.
- You can take full advantage of the lazy-loading feature with standalone components.
Hands-on
Let’s get down to some practical code, shall we?
First question that I made to myself: Is it possible to update/migrate an existing angular component to be standalone?
The answer is: Yes! And it’s very straightforward to accomplish it, as long as you are using a v14+ angular version. You basically have two things to do:
- Update your
@componentmetadata to include thestandalone: trueproperty and theimports: []array. In this array, you are going to import all the dependencies that your component template is using e.g. *ngIf, *ngFor, *ngClass, etc.
2. Finally, you can remove your component from any NgModule that it might be declared on. And that’s it! :D
Let’s see an example. Imagine that you have a component that you want to migrate to be a standalone one. Bellow you can see a structure of aDriverComponent.
The first thing that I’m going to do is to add the standalone: true and imports:[]properties to the component’s metadata. It should look like this:
Then, we need to go to this component’s template and identify all the features that it’s using so we can import those in the imports array. Let’s do this.
- In lines 5, 17, 18, 20 and 28 I’m using the directives *ngIf, *ngFor, ngStyle and the Async pipe. So, I can import all these guys in the
importsarray, or a simpler way would be to import theCommonModulethat already has all of them. - In line 4, I’m using the NgModel directive. Thus, I’m also going to need to import the
FormsModulethat exports this guy for us. - From lines 2 to 10, I’m using a
mat-form-fieldand amat-selectcomponent from the angular material library and these pals come from theMatFormFieldModuleandMatSelectModule. We need to add them too. - And finally, I’m also using a
app-body-titlecomponent from my on application on line 14. Therefore, this one too goes to theimportsarray.
After identifying all the dependencies and putting them on the imports array, our component may look like this:
To finish this update, we just need to remove the DriverComponent from the declarations array on the NgModule that it has been declared on. In our case, in the app.module.ts .
And that is it!! By doing these steps you can easily migrate your component to be a standalone one.
Lazy Loading
To finish this article I want to talk about lazy loading and how it became super simple to work with when using standalone components.
By using the lazy loading approach, your application can load and bootstrap faster, since the main bundle will be smaller.
To use it, is very straightforward. You just need to modify your app-routing.module.ts to use the loadComponent function as shown bellow.
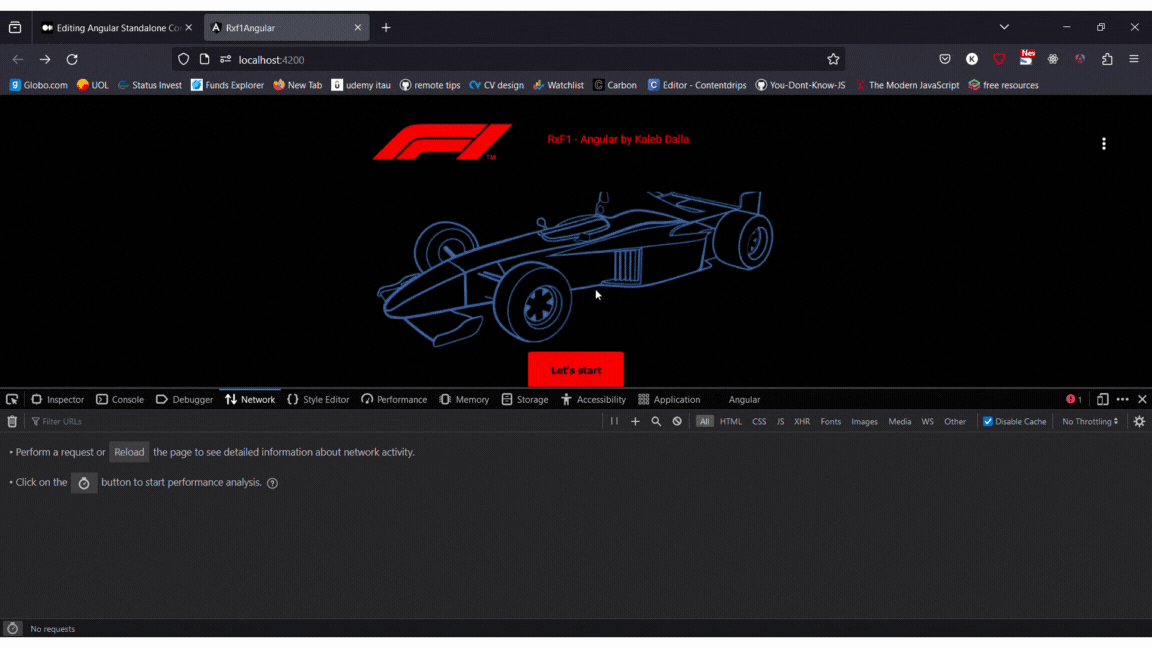
And there is also this GIF that I made to show the lazy loading in action.
In conclusion, standalone components are a very nice new feature introduced to the framework which brings lot’s of benefits. I recently migrate some components from a application that I built to study this concept and write this article.
You can find my commit doing this migration here. Please, feel free to reach me out with any questions :)
I hope you like this article.
Nice coding!!